Have you ever found yourself locked out of your own garage because the remote wouldn’t work? Garage door remotes communicate with the opener using radio signals. This post will guide you through reprogramming your garage door, whether it’s for a new home or replacing a lost remote.
Keep reading to unlock your garage again.
Key Takeaways
- Different garage door openers use either single code or rolling code technologies, with rolling codes adding extra security by changing the access code after each use.
- To reprogram a garage door opener, locate the learn button on your unit, then sync new remotes or keypads by entering a pin for keypads and pressing the open button on hand-held remote controls within 30 seconds of hitting the learn button.
- Resetting keypad codes involves selecting a new PIN that’s easy to remember but hard to guess for outsiders, ensuring your garage remains secure from unauthorized access.
- When reprogramming remote controls, press and hold the “learn” or “home” button until you see flashing lights or hear clicks, which indicate successful programming. Test each programmed button to confirm functionality.
- If you encounter issues during reprogramming like failing remotes, check for simple problems such as blown fuses, tripped circuit breakers, dead batteries in your devices, or misaligned photo-eye sensors that may block signal transmission.
Understanding the Types of Garage Door Openers
Garage door openers work in different ways, and knowing the kind you have is key to reprogramming it correctly. Some openers use a single code system every time you press the button, while others use a rolling code technology that changes the code after each use for added security. To make an informed decision on the ideal garage door opener for your requirements, it’s essential to comprehend the various types available, such as roller doors renowned for their space-efficient design, or alternative options tailored to specific functionalities.
Single Code Systems
Single code systems require the user to match manual switches found inside both the handset and the motorized unit of your overhead door openers. This method ensures that both devices operate on the same frequency, allowing them to communicate effectively.
To reset or program your garage, you’ll need to access these switches in each device and make sure they mirror each other.
If an exact handset match is not available, use a universal remote but verify compatibility with the radio frequency.
For those needing a replacement handset, it’s crucial to purchase one that aligns with your motorized unit’s model and manufacturer. This step guarantees compatibility and smooth operation between your new remote control and existing system.
Always consult the manufacturer’s instructions for detailed guidance during this process.
For more information about how to reprogram garage door openers, visit our page on garage door repairs in Aspley.
Multi Code Systems
Moving from single code systems, multi-code systems introduce a more secure and versatile approach to managing your garage. These advanced configurations use rolling codes for enhanced security with each press of the button on your remote or keypad.
This means every time you open or close your garage, the system generates a new code, making it almost impossible for unauthorized access.
Programming these devices involves pressing and holding the ‘Learn’ or ‘Door Code’ button on the motor unit of your opener. This step prepares the system to accept new codes from remotes or keypads, enabling features like voice control for even more convenience.
By embracing these multi-code technologies, homeowners can enjoy higher levels of security and customization in their garage door operations.
Step-by-Step Guide to Reprogramming

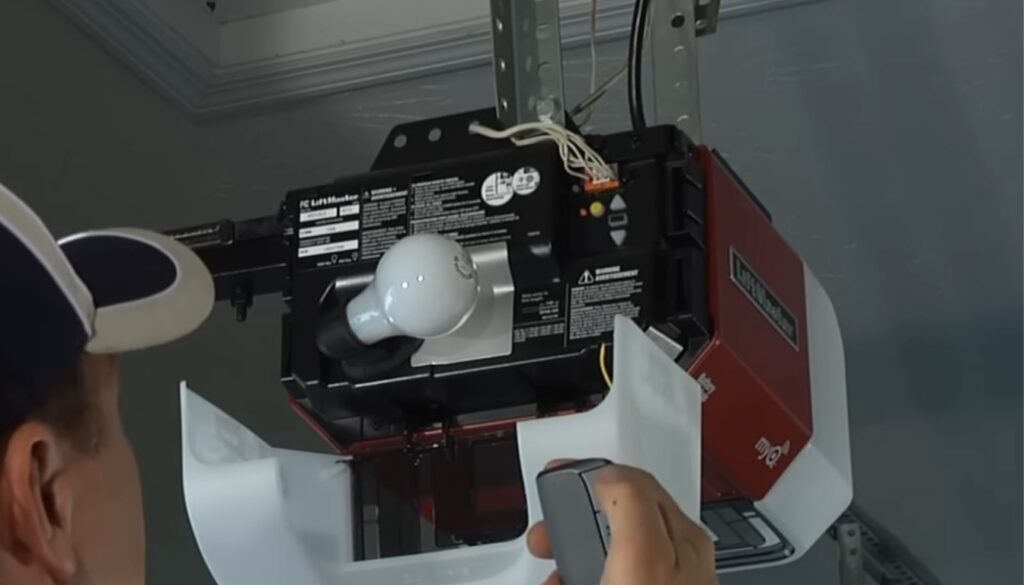
Ready to reset your garage door opener? Our guide makes it simple. First, find the learn button on your opener unit. This small button helps you connect new remotes or keypads. For keypad codes, enter your pin and press the designated key until the indicator light blinks.
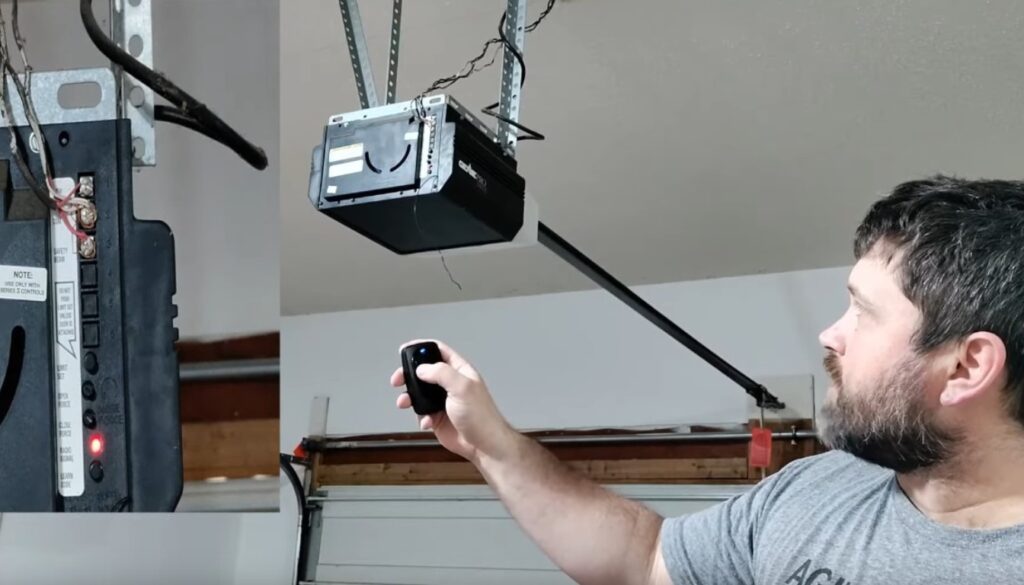
To sync a hand-held remote control, press and hold its open button after hitting the learn button on the machine.
Each step is direct and manageable, ensuring you reprogram successfully without a hitch. Whether updating an old garage setup or integrating a brand-new system, these instructions help open your garage smoothly every time.
Certain issues with garage door opener functionality can be frustrating. Explore our guide to troubleshoot and resolve these common problems effectively.
Resetting Keypad Codes
Resetting keypad codes on your garage door opener is a simple process. It ensures that your garage remains secure and accessible only to those you trust. Here’s how to do it:
- Locate the learn button on the motor unit hanging in your garage. This button may be behind the light cover of the opener.
- Press and release the learn button. The indicator light next to it will turn on.
- Enter your new personal identification number (PIN) on the keypad attached outside your garage. Choose a PIN that’s easy for you and your family to remember but hard for strangers to guess.
- Push the enter button on the keypad within 30 seconds while the indicator light is still glowing.
- Check if the LED light blinks or goes out after entering the code, signaling that you have successfully reset your PIN.
- Test the new PIN by entering it into the keypad and pressing enter; this should open your garage doors.
This method applies to various brands, including Genie, LiftMaster, and Chamberlain, which are among the most popular in home automation systems today. If at any stage during this process something goes wrong or doesn’t work as described above, refer back to your garage door opener’s manual or contact professional support for assistance with troubleshooting potential issues.
Simple steps like these help maintain an important aspect of home security by ensuring that access to your garage—and thereby often to your house—is carefully controlled and monitored according to your preferences and changes in use over time.
Reprogramming Remote Controls
After resetting keypad codes, you’ll need to reprogram your garage door remote controls. This ensures they communicate properly with the garage door opener.
- Locate the “learn” or “home” button on your garage door openers unit. This is usually found on the same side as the antenna.
- Press and hold this button until the indicator light starts to flash. This signals that the opener is ready to learn a new code.
- Grab the remote you want to program. Press the “open” button on this remote within 30 seconds of pressing the “learn” button.
- Watch for the garage door opener’s lights to flash or listen for two clicks, indicating successful programming.
- If you have a multi-button remote, repeat steps 2 through 4 for each button you wish to program.
- Test the newly programmed buttons by pressing them one at a time. The garage door should respond to each press accordingly.
- For homes with multiple remotes, ensure each one operates within its specific frequency range and does not interfere with others.
- Replace batteries in both keypads and remotes if you encounter any initial issues during programming.
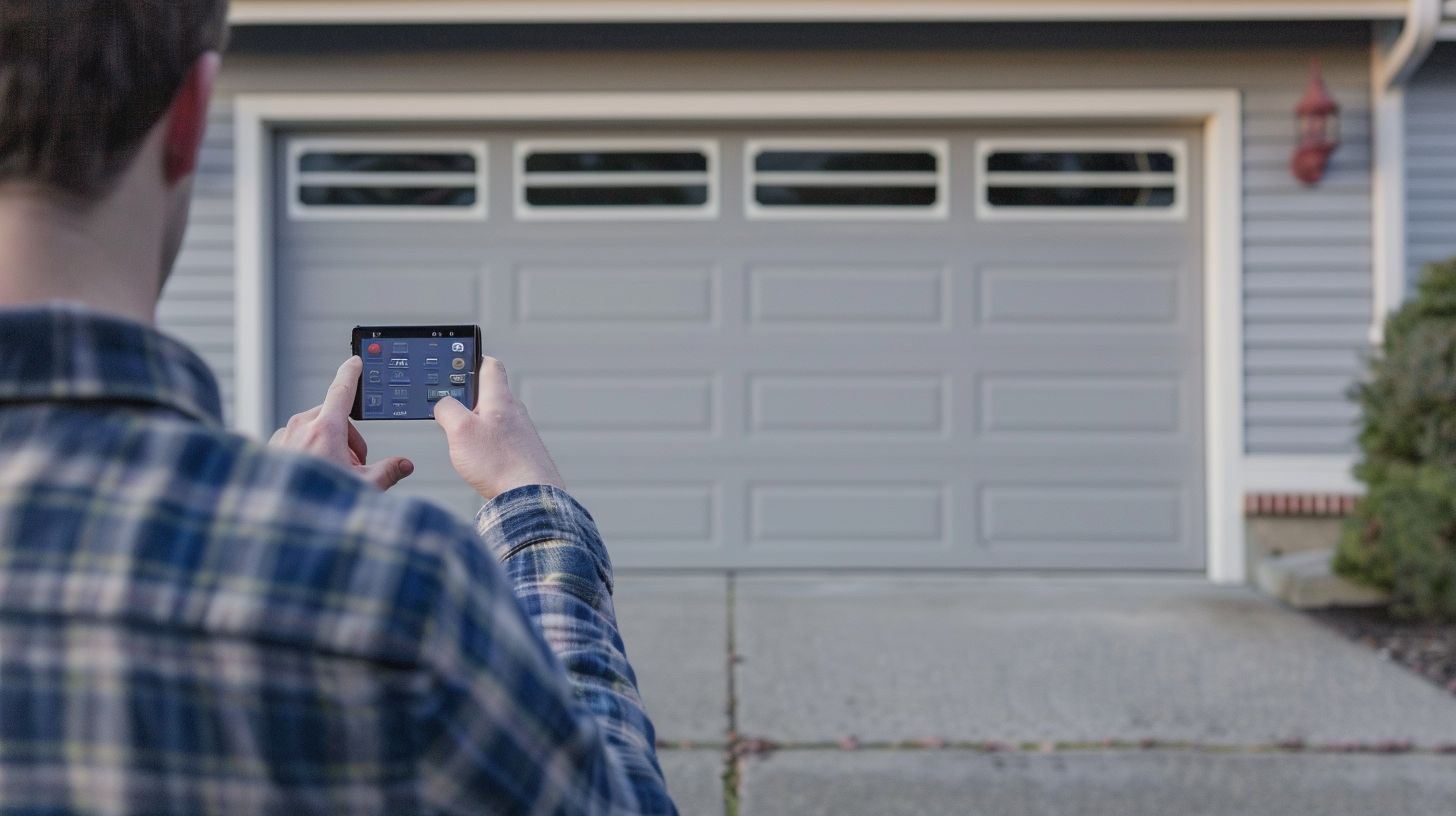
- Consider syncing with smart home systems if your model supports it for enhanced security and convenience.
- Keep instructions handy for any future reprogramming needs or troubleshooting assistance.
By following these steps carefully, reprogramming your garage door remotes becomes an easy task that enhances security and functionality around your home’s entrance points.
Troubleshooting Common Issues During Reprogramming

If your garage door opener remote fails to program, check the electrical setup first. Look for blown fuses or a tripped circuit breaker. These issues can stop the opener from getting power, making reprogramming impossible.
Also, ensure that outlets and lights in the garage work well. A simple fix like replacement of the fuse or resetting the breaker often solves the problem.
Next, examine if the remote is sending signals correctly by checking its battery. Dead batteries are a common culprit behind programming failures. Swap out old batteries for new ones to see if this fixes the issue.
Additionally, verify that devices designed to detect obstructions under your garage door—known as photo-eye sensors—are powered and their LEDs aren’t flashing irregularly; this could indicate alignment problems or blockages affecting signal transmission during reprogramming attempts.
Conclusion
Reprogramming your garage door opener follows clear steps. With a fresh remote, matching it to your system means pressing the learn button and syncing devices. For older models or lost remotes, setting up a new one ensures safety and ease of access.
AE Door & Window stands ready to help, making both setup and repair simple tasks. Mastering these guidelines provides peace of mind with secure, reliable garage entry every time.
FAQs
1. How do I reset a garage door opener?
First, locate the “learn” button on your device. This could be on the garage door motor unit or remote control. Press and hold this button until the LED light starts to blink or turns off, indicating you’ve successfully cleared old programming.
2. What steps should I take to program my new garage door remote?
To program your new remote, press the “learn” button on your opener’s motor unit inside the garage. Within 30 seconds, press and hold the button on your new remote that you want to operate the door. Release it when the garage’s lights blink or after 30 seconds.
3. Can I reprogram my opener if I lost or someone stole my remote?
Yes, first reset your system by pressing and holding down the “learn” button to erase all codes for safety reasons. Then reprogram any remaining remotes including a new one by following standard programming steps.
4. My opener doesn’t match my new universal remote brand; can I still program it?
Ensure your universal remote is compatible with different frequencies and models as specified in its manual. Follow its instructions carefully for programming—usually starting with pressing a designated setup button then syncing it with your opener’s learn feature.
5. Why won’t my keypad connect with my LiftMaster Chamberlain Garage Door Opener?
Check if you correctly followed all programming steps from entering setup mode via a learn button to inputting a secure code into your keypad within allowed time frames (often 30 seconds). If issues persist, consult both devices’ manuals for troubleshooting tips or contact customer support.
6. What should I do if programming fails repeatedly?
Review each step of instructions ensuring they align with both devices’ model specifications since procedures may vary slightly between brands and models like LiftMaster Chamberlain versus others—paying close attention to timing during presses/releases of buttons involved in syncing processes.
Garage Door Opener Repair Near You
For any help with your garage door opener, contact Jarred at Impact Doors. Our team of experts is ready to assist with installations, repairs, and maintenance. Call us today at (07) 5451 4022 for reliable garage door opener services.

