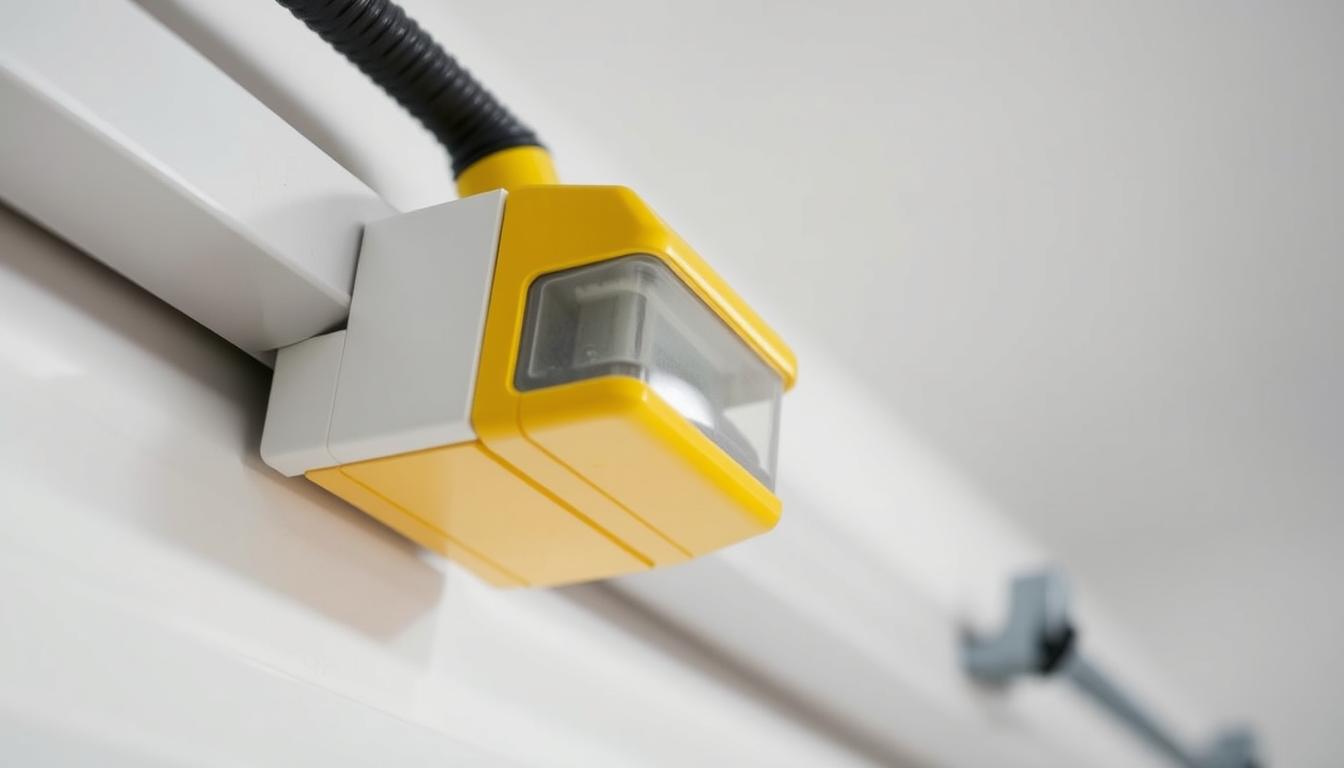
Ever spotted a glowing yellow indicator near your garage door and wondered if it’s a warning? That small beacon is actually part of your home’s safety system. Most modern setups use paired garage door sensors – one with a steady yellow light and another with green – to create an invisible beam. When aligned properly, these garage door sensors prevent the door from closing if something blocks its path, such as debris or other obstructions.
A constant yellow glow usually means everything’s working as it should. The lit garage door sensor shows power is flowing, while its green partner confirms proper alignment. But if that yellow light starts blinking or disappears entirely? That’s when you’ll want to investigate potential common garage door problems, such as sensor misalignment or obstructions in the path. These issues can often be traced back to the garage door sensor not functioning correctly.
Understanding these signals helps you respond smartly. Is the light dim? Check for dirt or debris on the lens. Is the other sensor’s green indicator off? Misalignment might be the issue. We’ll guide you through troubleshooting steps that could save you a callout fee – and keep your family safe.
Key Takeaways
- Yellow sensor lights are normal when paired with a green indicator
- Steady glow means safety beams are active and functional
- Flickering or absent lights signal potential alignment issues
- Dusty lenses often cause false warnings – easy to fix with a wipe
- Proper maintenance prevents most sensor-related problems
Understanding Garage Door Sensors: Operation & Safety
Ever noticed how your garage seems to “sense” when something’s in the way? That’s your safety system springing into action. These clever devices act like silent protectors, using invisible technology to keep your family and belongings safe. If a yellow sensor light is preventing your door from closing and you need an immediate solution, check out our guide on what to do when you need to bypass garage door sensors for safe temporary fixes and professional alternatives.
Modern garage door sensors play a vital role in ensuring the safe and efficient operation of any garage door system. A door sensor works by detecting obstructions in the path of a moving garage door, preventing accidents and reducing the risk of damage. Typically, garage door sensors use infrared beams that align with each door sensor on either side of the track, immediately signaling the opener to stop or reverse the garage door when the beam is interrupted.
Without properly functioning garage door sensors, a garage door could close unexpectedly, creating serious safety hazards. Regular inspection of each door sensor is essential, as dirt, misalignment, or wiring issues can affect how garage door sensors respond. In many cases, homeowners notice issues when the garage door refuses to close fully, indicating a misaligned door sensor. Properly installed garage door sensors are required by safety regulations, highlighting their importance in every modern garage door setup.
Even a light garage door can cause injury if a door sensor fails to operate correctly, making reliable garage door sensors crucial for both convenience and security. Whether dealing with a heavy or light garage door, keeping garage door sensors and each door sensor clean, tested, and aligned ensures smooth performance and maximum safety of your garage door system.
The Invisible Guardians of Your Home
Two small units mounted near the floor work as a team. One sends an infrared beam across the opening, while the other catches it. If anything breaks this connection – a bike, pet, or even a stray soccer ball – the door closing process stops instantly. This quick reaction happens faster than you can blink!
| Component | Role | Safety Impact |
|---|---|---|
| Sender Unit | Emits infrared signal | Creates detection field |
| Receiver Unit | Detects beam | Triggers emergency stop |
| Control Box | Processes signals | Manages door movement |
Lights That Speak Volumes
Those small LED indicators aren’t just for show. A steady glow means everything’s working perfectly. If lights flicker or go dark? It’s like your garage door system is waving a red flag. Regular checks prevent most issues – a quick wipe of the lenses often does the trick. If you notice a yellow light garage indicator, it may signal an issue with the garage door sensors.
For persistent problems, our guide to troubleshooting garage door sensor problems walks you through common fixes. Remember, well-maintained sensors could one day prevent a costly accident!
Common Causes of a Yellow Sensor Light
That glowing indicator on your safety system isn’t just for decoration – it’s your first clue something’s amiss. Three main suspects typically trigger these warnings: positioning errors, blocked beams, or grimy components. Let’s break down what each issue looks like in real-world scenarios.
When a garage door’s light sensor shows yellow, it usually means the sensors are misaligned or experiencing another issue. Since these sensors are designed to ensure safe operation, even a small problem can affect the entire system. Misalignment is one of the most common reasons sensors may trigger a yellow light, but dirt or an obstruction in the path of the sensors can also be the cause. Another frequent problem occurs when wiring to the sensors is loose or damaged, leading to an ongoing issue.
To fix the problem, homeowners should take careful steps, such as cleaning the sensors, checking alignment, and removing any obstruction. If these steps don’t solve the issue, it’s likely that the sensors are faulty and need replacement. Following these troubleshooting steps ensures that minor sensors problems don’t become major safety risks. With proper care, the light sensor and related sensors can continue working reliably, even if sensors may show temporary signs of a problem.

When Safety Eyes Lose Focus
Imagine your security devices, such as garage door sensors, as attentive sentries needing clear sightlines. Even minor knocks from routine activities – think ladder storage or kids’ toys – can shift their positions. This creates a communication breakdown between door sensors, often shown through flickering indicators of a yellow light garage.
Seasonal changes bring unique challenges. Autumn leaves might pile up against units, while winter frost could distort beam paths. A technician once shared how a family’s weekly recycling bin placement caused recurring alerts – solved simply by moving the container 15cm left to clear the path!
The Silent Threat of Grime Build-Up
Dusty lenses mimic smudged spectacles, blurring critical signals between components. Spider webs in corners, pollen drifts, or even grease particles from vehicle exhaust gradually degrade the functionality of garage door sensors. Regular cleaning prevents most issues:
- Use microfiber cloths for lens wiping
- Clear spider nests with soft brushes
- Check for cobwebs during routine maintenance checks
One homeowner discovered their weekly garden blower sessions were coating sensors in fine dust – a quick wipe restored full functionality. Remember, prevention beats cure for these sensitive components!
Why Is My Garage Door Sensor Yellow
Ever had a mystery you couldn’t crack? That steady amber glow might be hinting at hidden electrical gremlins. While alignment and cleanliness often get attention, the real troublemakers could be lurking in your wiring.
While troubleshooting a yellow sensor light, it’s also smart to inspect other moving parts like garage door rollers, since worn or misaligned rollers can sometimes contribute to operational issues that affect sensor performance.
Electrical and Wiring Issues
Flickering or unstable yellow light often trace back to power supply hiccups. Loose terminal connections or chewed cables – particularly in older homes – disrupt communication between components. One Brisbane family solved their blinking yellow light by simply tightening a screw behind the control panel!
Recent renovations? Painters might’ve nudged wires, while opener upgrades sometimes reuse ageing cables. Those temporary tape joints from DIY projects? They corrode faster than you’d think. A Gold Coast technician recently found green crust on connections made just two years prior.
| Issue | Common Causes | Fixes |
|---|---|---|
| Loose Connections | Vibration from door operation | Tighten terminal screws |
| Corroded Wires | Humidity or water exposure | Replace affected sections |
| Internal Wiring Problems | Ageing opener components | Professional circuit testing |
Moisture sneaks into garage spaces more often than you’d expect. Coastal areas see salt air eat through insulation, while inland regions battle condensation. If lights dim during rainy seasons, check conduit seals. Remember – safety first! Complex electrical work always warrants expert eyes.
Step-by-Step Sensor Troubleshooting Guide
Got a persistent yellow glow that won’t quit? Let’s roll up our sleeves with some practical fixes. Most sensor issues resolve quickly with basic maintenance – no special tools required. When troubleshooting sensor issues, some homeowners also compare opener brands—such as Overhead Door vs. Chamberlain—since different systems may have unique sensor designs and indicator light functions.
When a garage door sensor malfunctions, following a systematic approach makes troubleshooting easier. Start by checking each door sensor on either side of the garage door, as misalignment often causes a yellow light to appear. A blinking or steady yellow light usually means the garage door sensor needs cleaning or adjustment. Dirt and debris on the sensor lens can block the signal, so wiping both garage door sensor units is a simple first step.
If the yellow light remains, inspect the wiring connected to the garage door sensor and confirm the door sensor brackets are secure. Sometimes, a loose connection triggers the yellow light even when the sensor is aligned. Repositioning each garage door sensor until the yellow light clears ensures smooth function. If the yellow light persists despite cleaning and adjustments, one garage door sensor or door sensor may be faulty and require replacement. By carefully checking each garage door sensor and watching the yellow light indicators, homeowners can identify the root sensor problem and restore safe operation on both side units.

Cleaning the Garage Door Sensor Lenses
Start with the easiest fix – lens cleaning. Dusty surfaces scatter infrared beams like fog disrupts headlights. A microfiber cloth works wonders for removing grime without scratching delicate components of your garage door sensor.
Safety first! Switch off power at the wall before touching any parts. Gently wipe both lenses in circular motions. Check for spider nests in mounting brackets – a common obstruction in Australian homes. One Melbourne resident solved flickering lights by simply brushing away a huntsman’s web!
Realigning the Door Sensors
Misaligned units act like crossed wires. Here’s how to restore their connection:
| Step | Action | Pro Tip |
|---|---|---|
| 1 | Loosen bracket screws | Use a Phillips head screwdriver |
| 2 | Adjust height (4-6 inches) | Match a standard brick’s height |
| 3 | Face units directly | Check alignment with a spirit level |
Test adjustments by waving an object through the beam. If the door reverses, you’ve nailed it! Still stuck? Your garage door opener remotes might need reprogramming – a quick fix many overlook.
Remember, patience beats force. Tiny tweaks often solve big problems. A Sydney tradie once saw 17 service calls for “broken sensors” that just needed quarter-turn adjustments!
DIY Fixes Versus Professional Assistance
Staring at that glowing yellow light indicator? Knowing when to tackle repairs yourself or call experts keeps your home safe without unnecessary costs. Let’s explore smart decision-making for maintenance tasks.
When to Attempt a DIY Repair
Simple fixes often need just basic tools and 10 minutes. Cleaning dusty lenses with a soft cloth? Straightening slightly crooked brackets? These quick solutions resolve most sensor issues. Many homeowners fix alignment problems using a spirit level from their toolkit.
Remember the tradie’s rule: if it doesn’t involve wires or complex mechanisms, you’ve got this! A Brisbane family recently saved $150 by realigning their units after watching a tutorial. Just ensure power’s off before touching components.
Signs It’s Time to Call a Technician
Persistent glows after troubleshooting hint at deeper system problems. Buzzing noises or scorch marks near wiring demand immediate attention. Technicians bring specialised tools for diagnosing hidden faults – like voltage testers and circuit analyzers.
Why Is My Garage Door Sensor Yellow
Consider professional help if:
- Lights flicker despite clean lenses
- Wires show cracks or corrosion
- Safety features activate randomly
A Sydney technician recently found rodent-chewed cables causing intermittent failures. While 75% of sensor issues resolve with DIY, complex electrical work always warrants expert hands. Your safety’s worth more than a quick fix!
Preventative Maintenance for Your Garage Door System
Keeping your entry system in top shape starts with simple habits. Like checking your car’s oil, regular attention prevents surprises. A Gold Coast homeowner recently shared how seasonal checks saved them $400 in repairs – proof that small efforts pay off.
Clear Vision for Safety Eyes
Dust loves company. Wipe sensor lenses monthly using a dry microfiber cloth – no chemicals needed. Check brackets for spider tenants during spring cleaning. Remember that sticky sensor last summer? A quick clean restored its responsiveness within minutes.
Add these tasks to your routine:
- Inspect wiring for chew marks or wear
- Test safety reversal monthly
- Clear debris near mounting points
Perfect Partners Need Alignment
Units drift over time like picture frames on a bumpy wall. Every 3 months, verify sensor alignment using a spirit level. A Brisbane tradie’s trick? Mark original positions with pencil dots for quick reference.
Seasonal shifts affect components. After heavy storms, check for water damage. Before winter, ensure units sit 15cm above potential puddles. Your garage door system thrives on consistency – treat it well, and it’ll protect your family for years.
FAQ
What does a yellow light on my garage door sensor mean?
A yellow indicator often signals a safety issue. It usually means the garage door sensors aren’t communicating properly due to misalignment, obstructions, or wiring problems. This prevents the door from closing to avoid accidents.
Can dirt really cause sensor issues?
Absolutely! Dust, spiderwebs, or debris on the garage door sensor lenses block the infrared beam. Even a thin layer can disrupt the signal. Wipe the lenses gently with a soft cloth – no harsh chemicals needed.
How do I check if my sensors are aligned?
Look for small LED lights on both door sensors. If they’re green or steady, alignment’s fine. Blinking lights? Use a spirit level to adjust them until they face each other directly. A misaligned pair is a common fix!
Could faulty wiring cause the yellow light?
Yes. Frayed wires, loose connections, or chewed cables (hello, rodents!) disrupt power. Check visible wiring first. If you spot damage, turn off the opener’s power before inspecting. Unsure? Better to call a pro for electrical repairs.
When should I call a technician instead of DIY?
If basic cleaning and realigning don’t work, or you notice damaged components, it’s time. Persistent yellow lights after troubleshooting, broken brackets, or exposed wires all scream “professional help needed”. Safety first!
How often should I maintain my sensors?
Give them a quick clean every 2-3 months. Check alignment during seasonal changes – temperature shifts can knock sensors out of place. A 5-minute checkup saves headaches (and repair bills) later.
Will sunlight affect my garage door sensors?
Surprisingly, yes! Direct sunlight can overwhelm light sensors. If your garage door sensors face east/west, try shading them during peak sun hours. Some models have sun-resistant lenses – check your manual.
Can I bypass the sensors temporarily?
We don’t recommend it. Those sensors prevent crushing injuries or property damage. If you must (say, during repairs), hold the wall button continuously until the door closes. Never leave them disabled long-term.