
Your garage door relies on dozens of components working together seamlessly. Among the most critical yet often overlooked parts is the top bracket—a heavy-duty metal fixture that anchors the torsion spring system and keeps your door operating smoothly. When this bracket fails, you’ll notice problems quickly: loud noises, jerky movements, or a door that won’t stay on track.
Whether you’re a confident DIYer or simply researching costs before calling a professional, this guide walks you through everything you need to know about garage door top bracket replacement. We’ll cover warning signs, required tools, step-by-step instructions, common mistakes, and when it makes sense to leave the job to the experts. A damaged top bracket can place excessive strain on your torsion springs—if you notice issues, check out our guide on what to do when garage door springs break for immediate steps to take.
What Is a Garage Door Top Bracket?
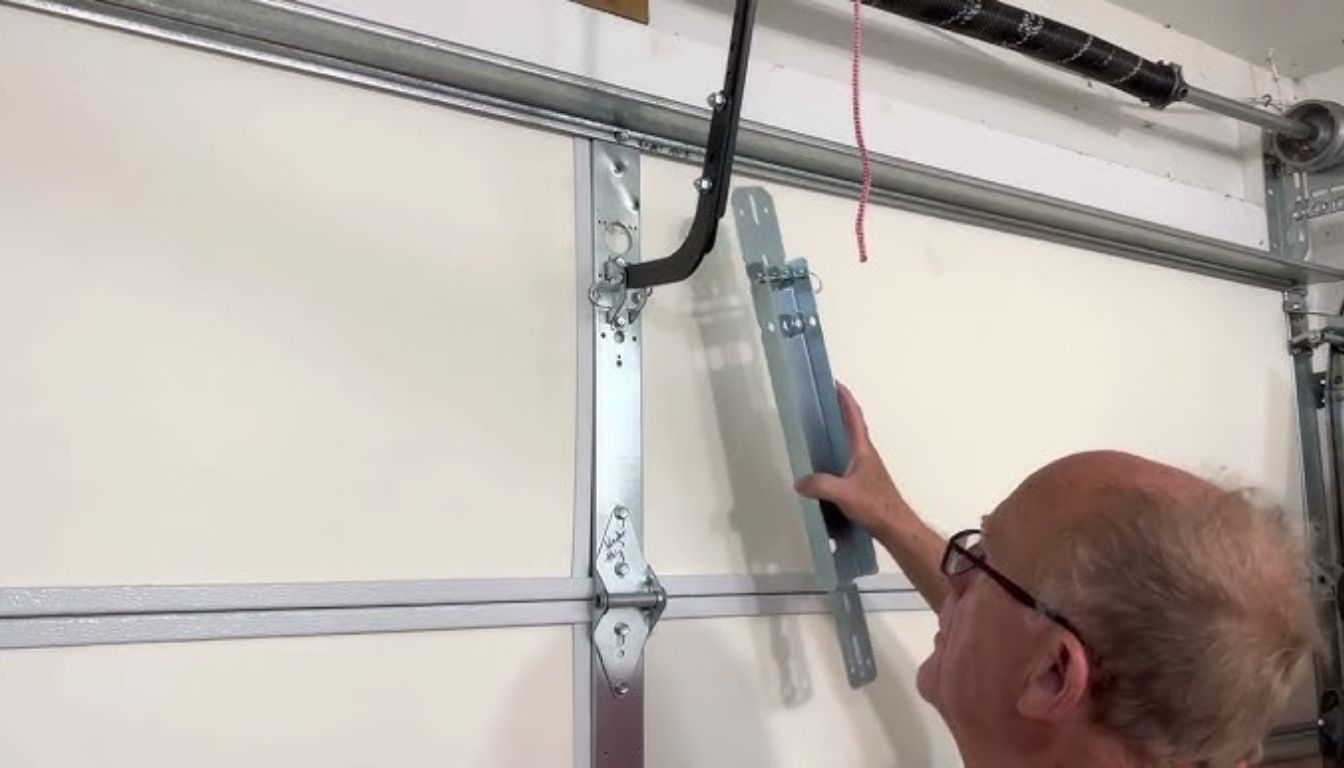
The top bracket (also called a centre bracket or spring anchor bracket) is a sturdy metal plate mounted at the centre-top of your garage door. It serves two essential functions: anchoring the stationary end of the torsion spring assembly and supporting the bearing plate that allows the spring shaft to rotate smoothly.
Think of the top bracket as the foundation of your entire door’s lifting mechanism. The torsion spring stores enormous energy when wound—enough to counterbalance doors weighing 70 to 200 kilograms or more. All that force transfers through the top bracket. If the bracket cracks, bends, or loosens, the consequences range from annoying (noisy operation) to dangerous (spring detachment or door collapse).
Most top brackets are made from heavy-gauge steel, often 3mm to 5mm thick, and are rated to handle specific door weights and spring sizes. Using an undersized or damaged bracket creates a serious safety hazard, which is why proper replacement matters. While replacing brackets, it’s a good time to inspect your cables for wear and fraying—our detailed garage door cable replacement process walks you through proper installation techniques.
Signs Your Garage Door Top Bracket Needs Replacement
Catching bracket problems early prevents more costly repairs down the track. Watch for these warning signs:
Visible cracks or bending. Inspect the bracket where it meets the door header and around the bolt holes. Any hairline cracks, warping, or deformation indicate metal fatigue. A failing bracket often shows stress marks radiating from mounting points.
Loud popping or grinding noises. When the bracket loosens or the bearing plate shifts, you’ll hear metallic sounds during opening and closing—particularly as the spring winds and unwinds.
Door tracking issues. If your garage door jumps off track repeatedly or binds at the top of its travel, a damaged top bracket may be allowing the spring shaft to shift position.
Rust and corrosion. Surface rust alone isn’t an emergency, but deep pitting or flaking rust compromises structural integrity. Coastal areas like the Moreton Bay region experience faster corrosion from salt air.
Spring slippage. If your torsion spring appears to have moved or shifted on the shaft, the bracket or its mounting hardware may have failed.
Tools & Materials Needed
Before starting the job, gather everything you’ll need. Working at height with spring tension involved means you don’t want to scramble for tools mid-repair. When replacing your top brackets, consider upgrading to reinforced models—explore our guide to heavy-duty garage door accessories and hardware for enhanced durability.
| Tools | Materials |
| Winding bars (for torsion springs) Socket set (10mm–19mm) Adjustable wrench Vice grips or locking pliers Cordless drill with socket adapter Step ladder (sturdy) Tape measure Marker or chalk | Replacement top bracket New mounting bolts (if corroded) Lock washers Thread-locking compound Penetrating lubricant (WD-40) Garage door lubricant spray Safety glasses Work gloves |
Finding the right bracket: Top brackets aren’t universal. You’ll need to match the bracket to your door’s weight rating and spring system. Brands like B&D, Steel-Line, Centurion, and Best Doors each have specific bracket designs. Measure the existing bracket’s bolt pattern, width, and thickness before ordering. Taking a photo helps when consulting with suppliers.
Safety Precautions Before You Start
Warning: Garage door torsion springs are under extreme tension. A wound torsion spring can cause serious injury or death if it releases unexpectedly. If you’re not completely confident in releasing and re-tensioning springs, stop here and call a qualified technician.
Essential safety steps include:
- Disconnect the opener. Unplug your automatic garage door opener or switch off the circuit breaker to prevent accidental activation.
- Clamp the door. With the door closed, clamp vice grips onto the track just above the bottom roller. This prevents the door from flying open if spring tension releases unexpectedly.
- Release spring tension first. Never remove a top bracket while the spring is wound. Use proper winding bars inserted into the winding cone and unwind quarter-turns until tension is fully released.
- Wear protective gear. Safety glasses protect against flying debris and rust flakes. Sturdy gloves protect your hands from sharp metal edges.
- Work with a partner. Having someone nearby during spring work adds a margin of safety and makes handling heavy components easier.
Step-by-Step Replacement Instructions
Step 1: Prepare the Door and Release Spring Tension
Close the garage door completely and disconnect the opener. Secure the door with vice grips on both tracks. Insert your winding bars into the winding cone one at a time, keeping a firm grip with both hands. Release tension by unwinding in quarter-turn increments—typically 30 to 40 quarter-turns for a standard residential spring. Count your turns carefully; you’ll need this number when re-tensioning.
Once fully unwound, the spring should spin freely on the shaft with no resistance. Loosen the set screws on the winding cone and slide the spring assembly away from the bracket if needed for clearance.
Step 2: Remove the Old Top Bracket
With spring tension released, you can now access the bracket mounting hardware. Most top brackets attach with three to six heavy-duty lag bolts or through-bolts into the header framing above the door.
If bolts are rusted or seized, apply penetrating lubricant and wait 10 to 15 minutes before attempting removal. Use a socket with a breaker bar for stubborn fasteners—forcing with an adjustable wrench often rounds bolt heads.
Support the spring shaft as you remove the bracket. The shaft, bearing, and drums will be loose once the bracket comes off. Lay everything out in order on the garage floor so you can reassemble correctly.
Step 3: Install the New Bracket
Compare your new bracket against the old one. Verify the bolt pattern, bearing pocket, and overall dimensions match. Position the new bracket using the existing holes in the header (or drill new pilot holes if upgrading to a larger bracket).
Apply thread-locking compound to bolt threads to prevent loosening from vibration. Tighten bolts in a star pattern—alternating between opposite corners—to ensure even pressure. Torque to manufacturer specifications or until firmly seated without over-tightening, which can crack timber headers.
Reinstall the bearing plate and slide the spring shaft back into position. Make sure the shaft rotates freely in the bearing before proceeding.
Step 4: Re-tension the Springs and Test
Slide the torsion spring back into position against the new bracket. Tighten the set screws on the stationary cone. Using your winding bars, apply tension in quarter-turn increments—the same number of turns you counted during disassembly.
Tighten the winding cone set screws securely. Remove the vice grips from the tracks. Manually lift the door to waist height and release—a properly balanced door should stay in place without rising or falling. Adjust tension as needed: add turns if the door falls, remove turns if it rises.
Reconnect your opener and test the door through several full cycles. Listen for unusual noises and watch for smooth travel along the tracks. Apply garage door lubricant to the spring, bearing, and rollers to ensure quiet operation.
Common Mistakes & Troubleshooting
Even experienced DIYers encounter problems during bracket replacement. Regular bracket inspections should be part of your overall maintenance routine—follow our preventive maintenance tips for garage doors to extend the lifespan of all components. Here’s how to avoid and fix the most common issues:
Incorrect spring tension. Too little tension makes the door heavy to lift and strains the opener. Too much tension causes the door to fly open. Test balance at the halfway point and adjust in small increments.
Loose mounting bolts. Vibration from daily use works bolts loose over time. Always use thread-locking compound and check torque after the first week of operation.
Misaligned shaft. If the door binds or tracks unevenly after bracket replacement, the shaft may not be level. Use a spirit level across the cable drums and adjust the bracket position if needed.
Wrong bracket size. Using a bracket rated for a lighter door creates a dangerous weak point. Always match or exceed the original bracket specifications.
Damaged cables. While you have the spring system apart, inspect cables for fraying. Replacing worn cables during bracket work prevents a second repair later.
Cost to Replace a Garage Door Top Bracket
Understanding typical costs helps you budget whether you’re tackling the job yourself or hiring a professional.
| Expense | DIY Cost | Professional Cost |
| Replacement bracket | $40–$90 | Included |
| Mounting hardware | $10–$25 | Included |
| Winding bars (if needed) | $25–$50 | N/A |
| Labour | $0 | $150–$300 |
| Total Estimate | $75–$165 | $190–$390 |
Prices vary by region and door type. Heavy commercial doors or custom brackets increase costs. Many professionals also inspect and adjust the entire spring system during bracket work, adding value beyond the basic repair.

DIY vs Professional Replacement
While replacing a top bracket is within reach for handy homeowners, the job involves significant risk. Here’s how to decide:
Consider DIY if: You have experience with torsion spring systems. You own proper winding bars (not substitutes like screwdrivers). Your door has a standard residential spring setup. You’re comfortable working at ladder height.
Call a professional if: You’ve never released torsion spring tension before. Your door has a high-cycle commercial spring or dual-spring setup. The existing bracket failed catastrophically (indicating possible underlying problems). You notice additional damage to cables, drums, or the opener.
A qualified garage door technician completes bracket replacement in 45 minutes to an hour, with full warranty coverage on parts and labour. For Moreton Bay and North Brisbane homeowners, Impact Doors offers same-day service with 24/7 emergency availability—giving you peace of mind that the job is done safely and correctly. If you’re comfortable with hands-on repairs, bracket replacement is one of many essential DIY garage door projects you can tackle to improve your garage door’s performance.
Frequently Asked Questions
What does the top bracket do on a garage door?
The top bracket anchors the stationary end of the torsion spring system and supports the bearing that allows the spring shaft to rotate. It’s the central mounting point for your door’s entire counterbalance mechanism.
Is it safe to replace a top bracket myself?
It can be, but only if you properly release spring tension first. Working on a top bracket while the torsion spring is wound is extremely dangerous. If you’re unfamiliar with spring systems, hire a professional.
How much does a professional charge to replace a garage door bracket?
Expect to pay between $190 and $390 for professional bracket replacement, including parts and labour. Complex jobs or after-hours emergency calls may cost more.
How long does bracket replacement take?
A professional typically completes the job in 45 to 60 minutes. DIY replacement may take 2 to 3 hours, particularly if you’re unfamiliar with releasing and re-tensioning springs.
Can I use a universal replacement bracket?
Some brackets have universal mounting patterns, but always verify weight rating and dimensions match your door. Using an undersized bracket creates a safety hazard.
How do I know if other brackets need replacing too?
While you have the spring system apart, inspect cable drums, end bearing plates, and flag brackets at the bottom of the door. Any showing cracks, rust damage, or wear should be replaced simultaneously.
Need Professional Help With Your Garage Door?
If you’re in the Moreton Bay or North Brisbane area and prefer to leave bracket replacement to the experts, Impact Doors is here to help. With 24/7 emergency service, a 5-star rating from over 150 reviews, and experience with all major brands including B&D, Steel-Line, Centurion, and Best Doors, owner Jarred Turner and his team deliver prompt, professional repairs you can trust.
Call (07) 5451 4022 for a same-day quote or visit impactdoors.net.au to book online. From emergency callouts to complete spring system overhauls, we keep your garage door running safely and smoothly.
Bracket Maintenance Tips to Prevent Future Failure
Extend the life of your new bracket with these simple maintenance practices:
- Annual inspections. Check the bracket and all mounting hardware once a year. Look for rust, loose bolts, or stress cracks.
- Lubricate the bearing. Apply garage door lubricant to the bearing plate every six months to reduce friction and wear.
- Address rust early. Treat surface rust with a rust converter and touch-up paint before it penetrates the metal.
- Monitor door balance. Test door balance every few months by disconnecting the opener and lifting manually. Imbalance stresses all hardware.
- Don’t ignore noises. New sounds during operation often signal developing problems. Investigate promptly before minor issues become major repairs.
Replacing a garage door top bracket is a manageable project for experienced DIYers who understand torsion spring safety. For everyone else, the modest cost of professional service buys expertise, warranty protection, and—most importantly—peace of mind that one of your home’s heaviest moving components is secure.